
QuickBooks software must be set-up properly before launching the QuickBooks Integration. Also, all products in the product catalog require a QuickBooks Name less than 30 characters and without any special characters included.
Basic Setup
System Settings > QB Management > First Time Setup > Create a password to ensure secure settings between the FrontRunner system and QB.
Click Create User. Download the three files to your computer:
- Web Connector File
- QBXML Installer
- QWC File (download & Save)

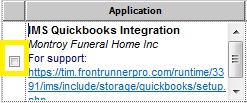
Install the Web Connector and QBXML programs by double clicking on the downloaded file(s). Once both are installed, open Web Connector and add the QWC File by clicking the “Add an application” button. The QWC file is the third program on the list, and will look like a text file.
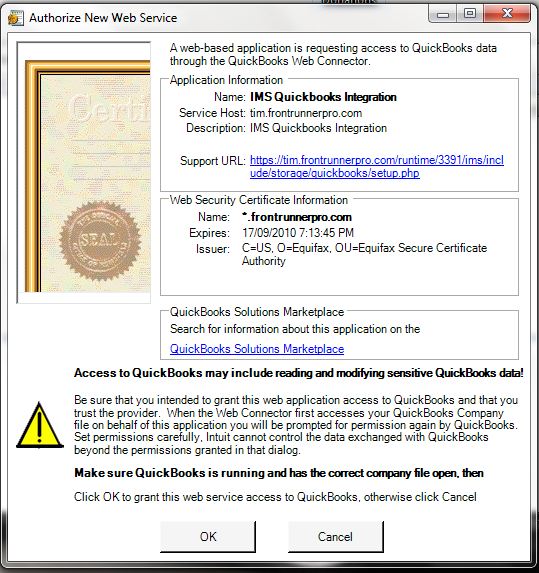
Authorize the Web Service. Hit “OK”. Note: This will only open on set up.
In Web Connector, enter your password and press tab (on the keyboard) for the prompt to save.

Check the Auto-Run box to automatically push the data. Set a default amount of time that the web connector will auto-run. If you’re working with several records and don’t want the web connector to load every time, it can be set to run a pre-determined amount of time.
Account Affiliations
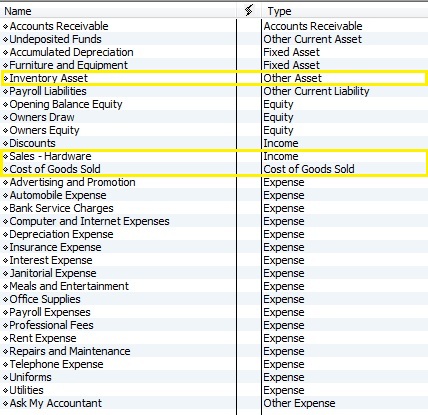
The system will utilize accounts in your QuickBooks so it’s necessary to associate those accounts. Open QuickBooks and navigate to the Chart of Accounts. Write down the names (whether existing or if you want to create new ones) of the following types of accounts. You can also change existing accounts to the names highlighted in yellow below if it helps.
- Income Account
- Cost of Goods Sold Account
- Asset Account
ex. My QuickBooks Accounts Listing
System Settings > Profile.
Refer to the Tax & QuickBooks Integration Settings section. Enter the three account names to ensure the same names within the FrontRunner system and QuickBooks.
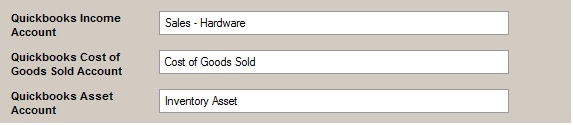
QuickBooks will use these accounts when pushing invoices to your system. If not added properly, there will be an error message with the web connector.
Item Affiliations
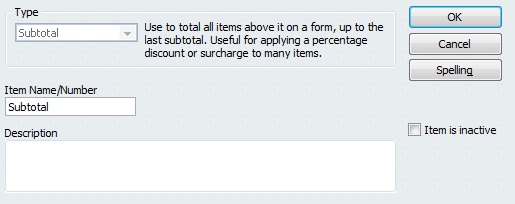
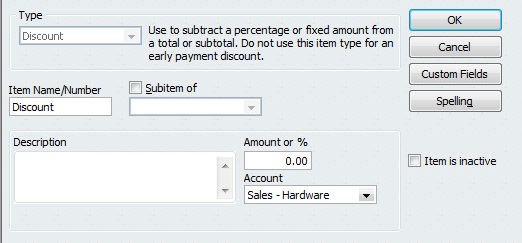
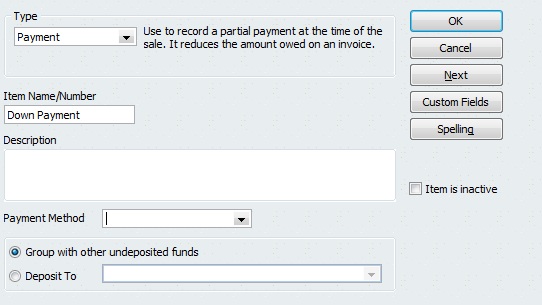
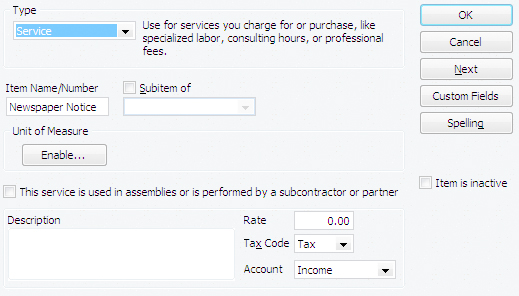
To offer discounts and/or down payments on contracts, create the items and add to your System Profile. Start by creating the two items in QuickBooks. Click the Items & Services button on your QuickBooks desktop. Follow the pictures below to set up four items in your QuickBooks.
1) Subtotal
2) Discount
3) Down Payment
4) Newspaper Notice
Once the items are created, go to System > System Profile and type in the appropriate names. The names must match for the contracts to push properly.
Example:

Product Setup
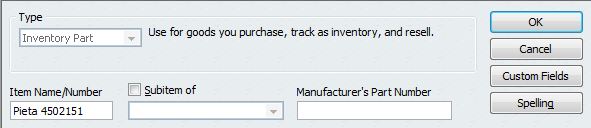
Note: Existing QuickBooks users – make sure your products are set-up with the form “{IMS product name} {IMS product code}”. This is searched when transferring an invoice. If the IMS cannot find the appropriate item in QuickBooks, the integration will not be successful.
Example:
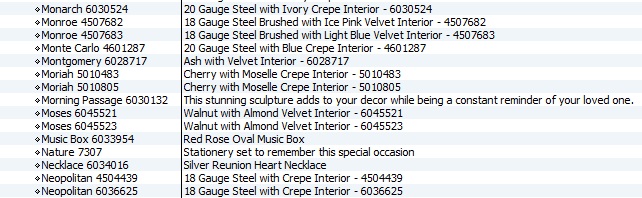
Note: The name and product code in left column are less than 31 characters long. The right side displays a description of the item.
If you have existing product, edit it so the name is similar to the one in image below:
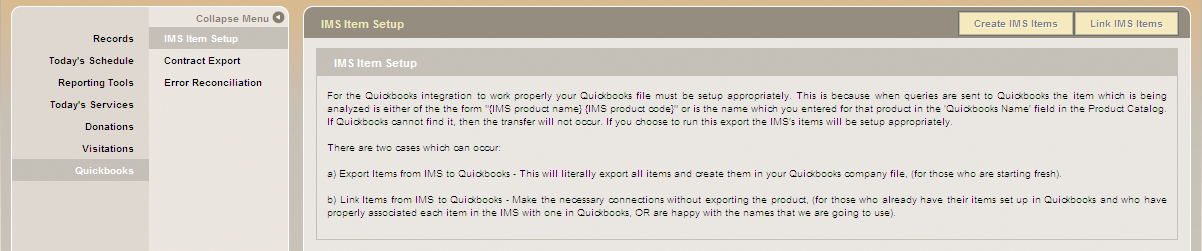
IMS Items Export
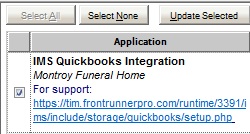
The Web Connector provides the ability to export items from the IMS to QuickBooks saving you the time of manually entering the information. Open QuickBooks, the IMS and Web Connector. In the Web Connector, check the box to the left of your name and uncheck “auto-run”.
Go Back to your System > Management > QuickBooks and click “Export IMS Items”.
Go back to the Web Connector. QuickBooks may ask you to accept the certificate. This allows the system to connect to your QuickBooks. Answer : “Yes, whenever this QuickBooks company file is open”.
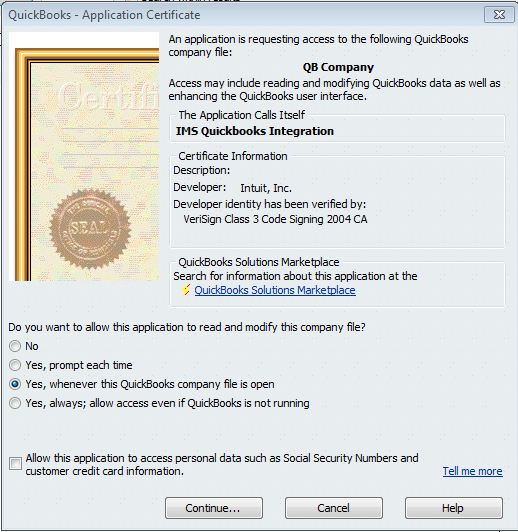
The Web Connector will begin exporting to your Item List in QuickBooks. Go to your QuickBooks Items & Services to see the system products being added. This will take a few minutes to complete.

All products will add with the correct name, item number and description. To change details about any products, do so in the IMS Product Catalog and it will export the next time the Web Connector runs. This will prevent you from having to enter the adjustments twice.
IMS Contract Export
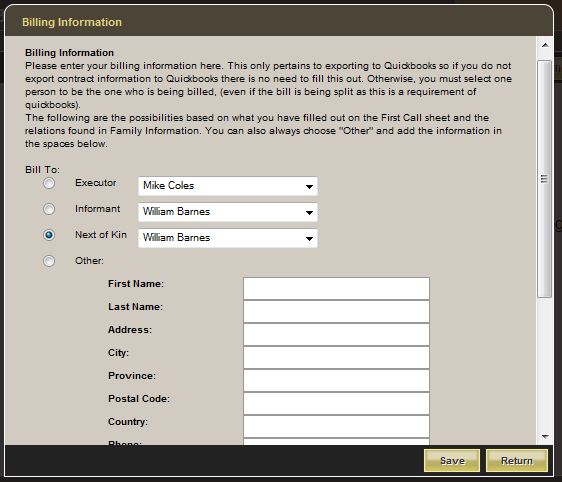
Once a contract is built for a record, proceed to the “Contract Options” link. The gold button called “QuickBooks Billing” links to a screen where the person responsible for contract billing can be designated. If a family share is set-up, the first person on the list will be the primary customer and the other payees will be shown in the memo line of the invoice. If a family share is not set up, select the Executor, Informant, Next of Kin, or a manual entry. All address and contact information in the record will be pushed to QuickBooks.
Once a contract is selected to export, the end product can been viewed in QuickBooks. The IMS, QuickBooks, and the Web Connector must all be open (can be minimized) during this process. Go to the Web Connector and click “Update Selected”. If this is not clickable, check the box to the far left of the Web Connector.
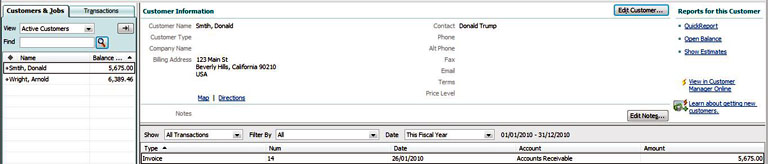
Once Update Selected is chosen, go to “Customer Center” in QuickBooks to view the new customer/contract.
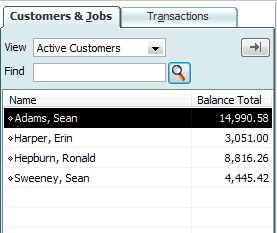
Click once on a customer’s name and the appropriate invoices will display on the right. Double click on an invoice to pull it up.
Once payments are accepted in QuickBooks, they will count toward your financial statements, customer sales, and any item sales or count.
← Generate/Edit a Family Contract Other Management Features →
Need more help with this?
Don’t hesitate to contact us here.