This section of Arranging Director allows you to setup your products.
Navigate to System Settings > Inventory > Inventory Control.
This screen shows you a list of you Product Catalog and the current count in inventory for each product. This is the main control screen to maintain your inventory. Use the Product Database screens to change the details of a product. The Inventory Control Icons are:


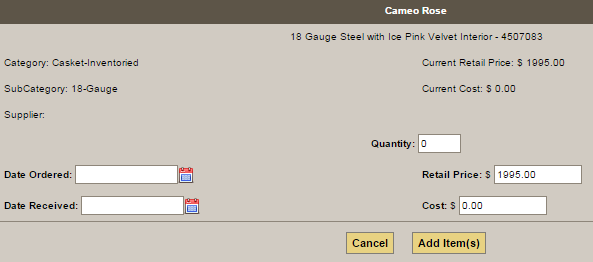
Receive Inventory
When you choose to receive inventory you will be asked for the quantity and pricing details for the operation. After you add the items you will be given the opportunity to assign serial numbers.
View/Edit Inventory Details
You may edit the Date Ordered, Date Received, Retail Price and/or Cost for all selected product currently in stock and unassigned to a client.
Select Inventory to Delete
When you click this icon you will be allowed to select which inventory items or items to delete of this product.
Transfer Inventory Item
The funeral homes involved in the transfer must have each other defined as transfer locations. These are set under System Settings > Arranging Director Admin > Inventory Transfer > Maintain Inventory Transfer Locations.
The transfer occurs based on the data in both funeral homes’ Product Database. If both funeral homes have the EXACT matching Product Name, Category and Subcategory then the item is transferred directly. If there is not an exact match you have two options. Option one is to add the sending funeral homes’ details for that product to the receiving funeral homes’ product database and transfer the item. Option two is to select a product from the receiving funeral homes’ product database and transfer the item as that selected product.
Need more help with this?
Don’t hesitate to contact us here.


